This article is written for and published on SitePoint.
Earlier this year, I wrote an article about PHP-CI, which you can use as a continuous integration tool for your PHP projects. Within this article I indicated I still liked Jenkins the most as a CI tool. Time to dive into Jenkins and see how we can set this up for our PHP project.
Introduction to Jenkins
The list of things that Jenkins has to offer is huge due to the rich plugin system it has. Basically, Jenkins is just a tool which connects all kinds of different tools and plugins together to create a report for you. For example, it can run PHPUnit and show you the results in a graph over time. It can check your PHP code for errors by running php -l. However, you can also let Jenkins build a project and output a zip file, which you can use to deploy your application. The advantage of this is that you get a complete zip file back to upgrade your production application without having to run tools like Composer or NPM on your production servers.
Jenkins can be used for many different applications. You can use it for web applications written in PHP, but also for software and mobile applications written in Java or any other language. This makes Jenkins a very versatile tool and very interesting for companies handling many different projects.
Because Jenkins has so many options and possibilities, it looks overwhelming for people to start using it. Within this series of articles, we will slowly work our way into Jenkins. We will start with the installation and setup. After that we will continue with analyzing a project. In the end, we will take a close look at numerous other plugins we can use to check the quality of our product.
We will mainly focus on the quality of the PHP code, but in the end we will also take a short look at analyzing our HTML, CSS and JavaScript which work in close harmony with PHP.
Installing Jenkins
You can install Jenkins on any popular operating system. For this article, we are going to install Jenkins on Ubuntu Server 14.04 LTS. If you are using a different operating system, you can check here for the installation instructions per operating system. To install Jenkins on Ubuntu the easiest way would be by running this command.
sudo apt-get install jenkins
However, you are now installing Jenkins which is located in Ubuntu’s repository. Jenkins itself suggests to install directly from the Jenkins repositories. First, we add the key to our system for the repository.
wget -q -O - http://pkg.jenkins-ci.org/debian/jenkins-ci.org.key | sudo apt-key add -
Now we run the following command to add Jenkins to the sources.list file.
deb http://pkg.jenkins-ci.org/debian binary/
Now we are ready to install Jenkins.
sudo apt-get update
sudo apt-get install jenkins
When finished, Jenkins is successfully installed on your server.
You can now reach Jenkins through your browser by adding port 8080 to the end of the URL. So imagine my server is named ci.myserver.com you can reach Jenkins on ci.myserver.com:8080.
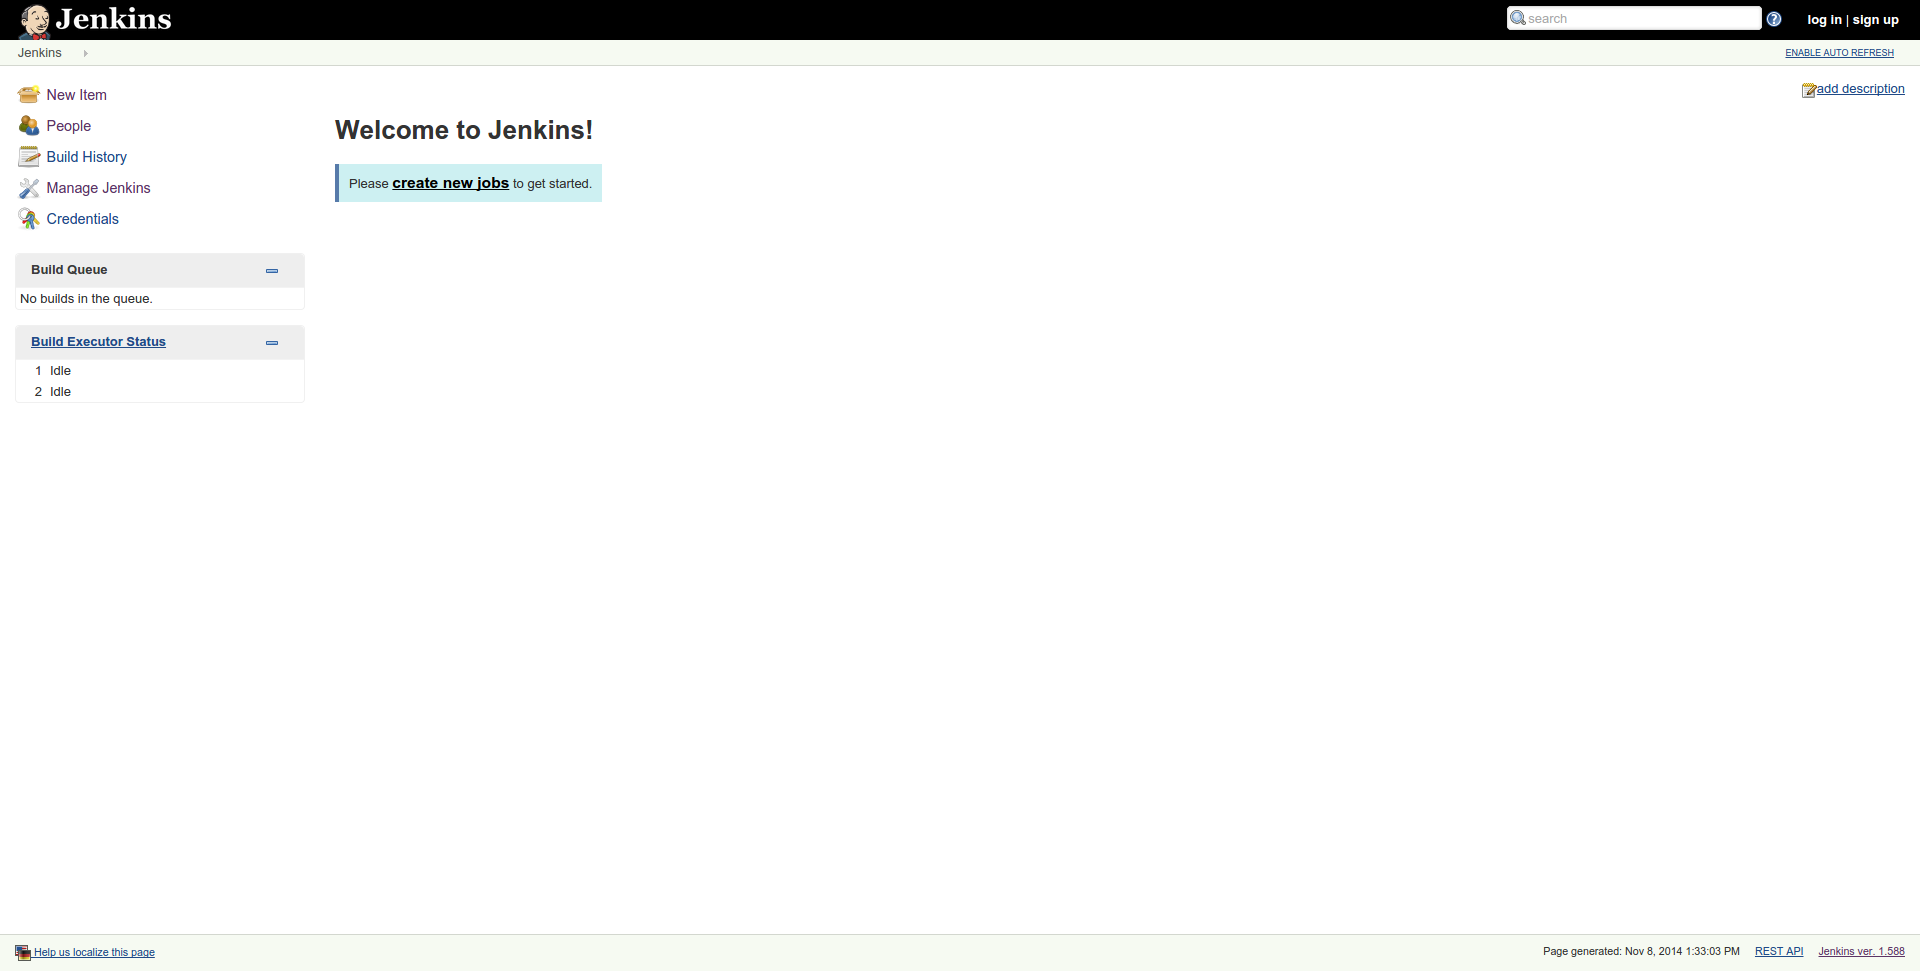 .
.
Securing Jenkins
The first thing you should notice is that Jenkins is completely open. Anyone now going to this URL can do all kinds of different tasks, so the first thing we are going to do is secure it. We start by clicking on Manage Jenkins in the sidebar menu. where we will be greeted by a notification from Jenkins, recommending to secure the CI server.
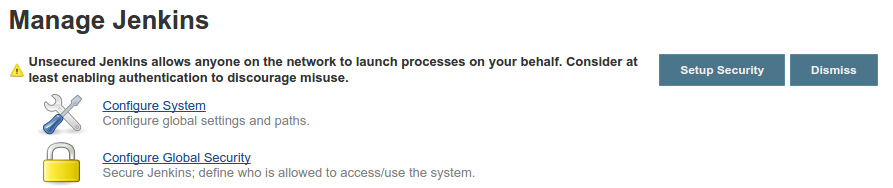
Click the Setup Security button to continue. On the next page, mark enable security checkbox as checked. The following steps are crucial to follow correctly, because it’s easy to lock yourself out of Jenkins. If this happens, you can follow these steps to gain access again.
The first thing you need to do, is set your security realm. The easiest one is to have Jenkins have his own user database by marking the checkbox in front of Jenkins' own user database. Make sure the allow users to sign up option is also enabled. Now save your configuration by clicking save.
You should now be able to see a sign up link at the top right corner of the page. Click this link and fill in the form to sign up. When done, log in with your newly created account.
Go back to the security settings by clicking Manage Jenkins and then clicking Configure Global Security. You should now uncheck the allow users to sign up checkbox to make sure no new accounts can be created without your permission.
Next we are going to set the authorization. The best options for you are either matrix based security or Project-based Matrix Authorization Strategy. This allows you to set per user which actions they can and cannot perform. If you choose the latter option, you will be able to even set this per project. For now, I am going to pick the matrix based security.
A table with permissions is now displayed. You will only see one table row in which you can define what an anonymous user can do. However, we want to set permissions for our own user account. So fill in your username in the box below and click Add. To make sure you have access to everything, you can check them all.
In the end, this is what it looks like.

Note: Be careful with capitalized letters. Peter and peter are 2 different user accounts, so make sure you fill in the correct username in both cases else you will be locked out of the system.
When saving, you will automatically get logged out. Note that you don’t see anything anymore except a login form. After logging in, you should have access to everything like before. If you get a permission error, you made a mistake and you either have to change the settings or you got yourself locked out of Jenkins. In the latter case, see the link above.
Preparing Jenkins
So far, we have been busy installing and securing Jenkins. Now it’s time to configure Jenkins so we can start building and analyzing our PHP projects. Sebastian Bergmann created an excellent website showing you how to set up Jenkins for PHP. We are going to do the same steps as documented, but in a slightly different order.
Installing plugins
First we need to install several plugins into Jenkins. Plugins are small extensions to Jenkins which can perform tasks for you like analyzing a report and converting it to a graph. We will need the following list of plugins to get started.
- checkstyle
- cloverphp
- crap4j
- dry
- htmlpublisher
- jdepend
- plot
- pmd
- violations
- xunit
We are going to install these plugins through the interface. If you feel more experienced or comfortable with the command line, you can check out this documentation to see how to install them via the command line. Also, that page will give you a short explanation about what every plugin will do.
Within Jenkins, go to Manage Jenkins and then to Manage Plugins. Click the tab named available. Here you will see a complete list of all available plugins. With the filter at the top right corner, you can quickly search for every plugin. Make sure you install the complete list of the plugins mentioned above by checking the checkboxes.

Check the checkbox in front of Restart Jenkins when installation is complete and no jobs are running to restart Jenkins when everything is done. After the restart, all the required plugins have been installed correctly.
Creating a template
When Jenkins is set up, we normally start by creating a project, sometimes called a job. A project is typically one PHP project you got. Within a project, you will have several builds. You can configure Jenkins to analyze (build) your code at certain moments. This can be scheduled intervals or on pull requests from contributors, for example. So a project contains several builds over time, each being a separate analysis of your code. Thanks to the plugins we installed, you will be able to see the results of those builds in nice graphs. Within these graphs you can quickly spot if a certain build increased or decreased the quality of your project. We can also see where we need to improve our code according to all of our tools.
We could now create a new project. However, we also would need to configure this project. For example, we could configure that each time PHPUnit is run, a code coverage page should be created so we can see which code is tested and which code is untested. There’s a lot of tests we would need to configure on a new project, and this would likely be time consuming. Luckily, Sebastian Bergmann also created a template which we’re going to use.
We need to open up the command line to be able to install this template. The easiest way would be to download the CLI tool Jenkins provided. The problem however is the fact that we secured our Jenkins installation earlier. This would mean we have to open up security back to anonymous or connect public/private key to our account.
In this case, we are going for an alternative method of installing the template. First, log in as user Jenkins on the command line and go to the home directory.
sudo su jenkins
cd ~
Within the home directory, go into the jobs directory and create a new directory named php-template.
cd jobs
mkdir php-template
Now we are going to enter this directory and add the configuration file.
cd php-template
wget https://raw.github.com/sebastianbergmann/php-jenkins-template/master/config.xml
Now, we need Jenkins to reload its configuration. You can do this by going back to the web interface, click Manage Jenkins and click on Reload Configuration from Disk. Jenkins will now reload its configuration. When done, you should see the php-template project on the main overview page.
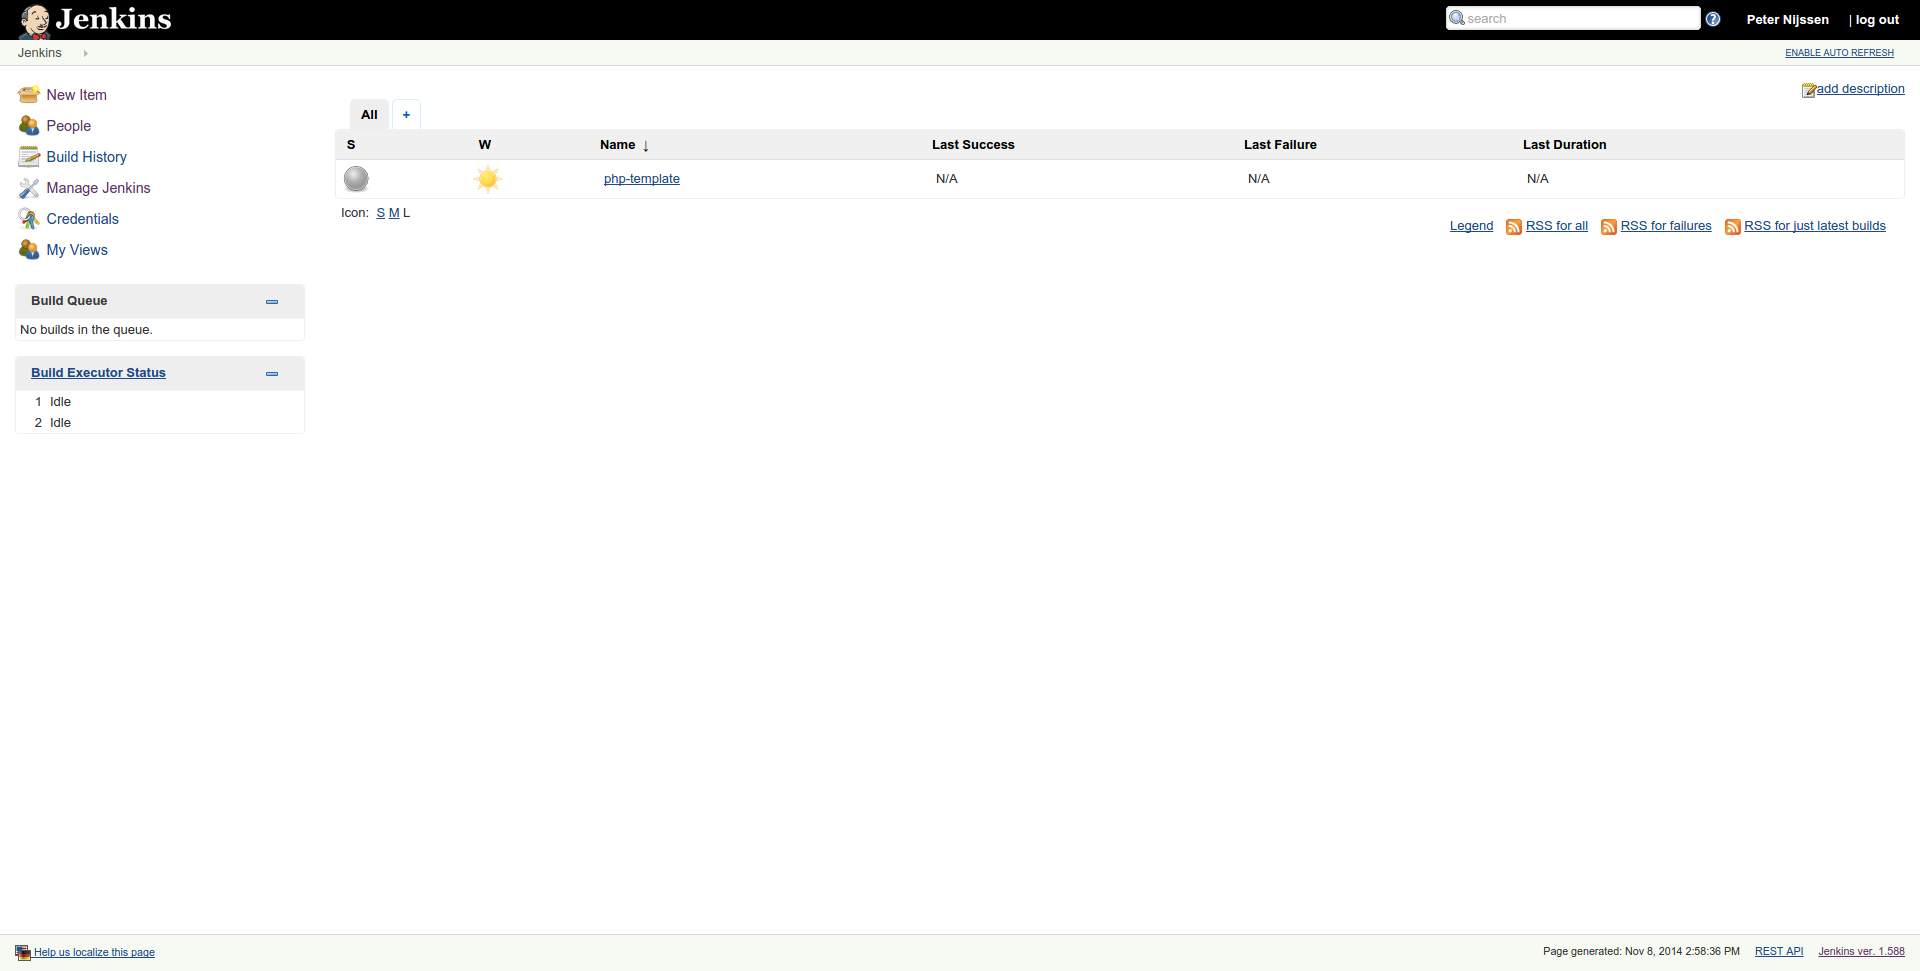
Jenkins is now ready. We can create new projects based on this template.
Conclusion
Within this article we installed, secured and prepared Jenkins to start analyzing our PHP project. In the next part, we will add our project, prepare it, and of course analyze it.